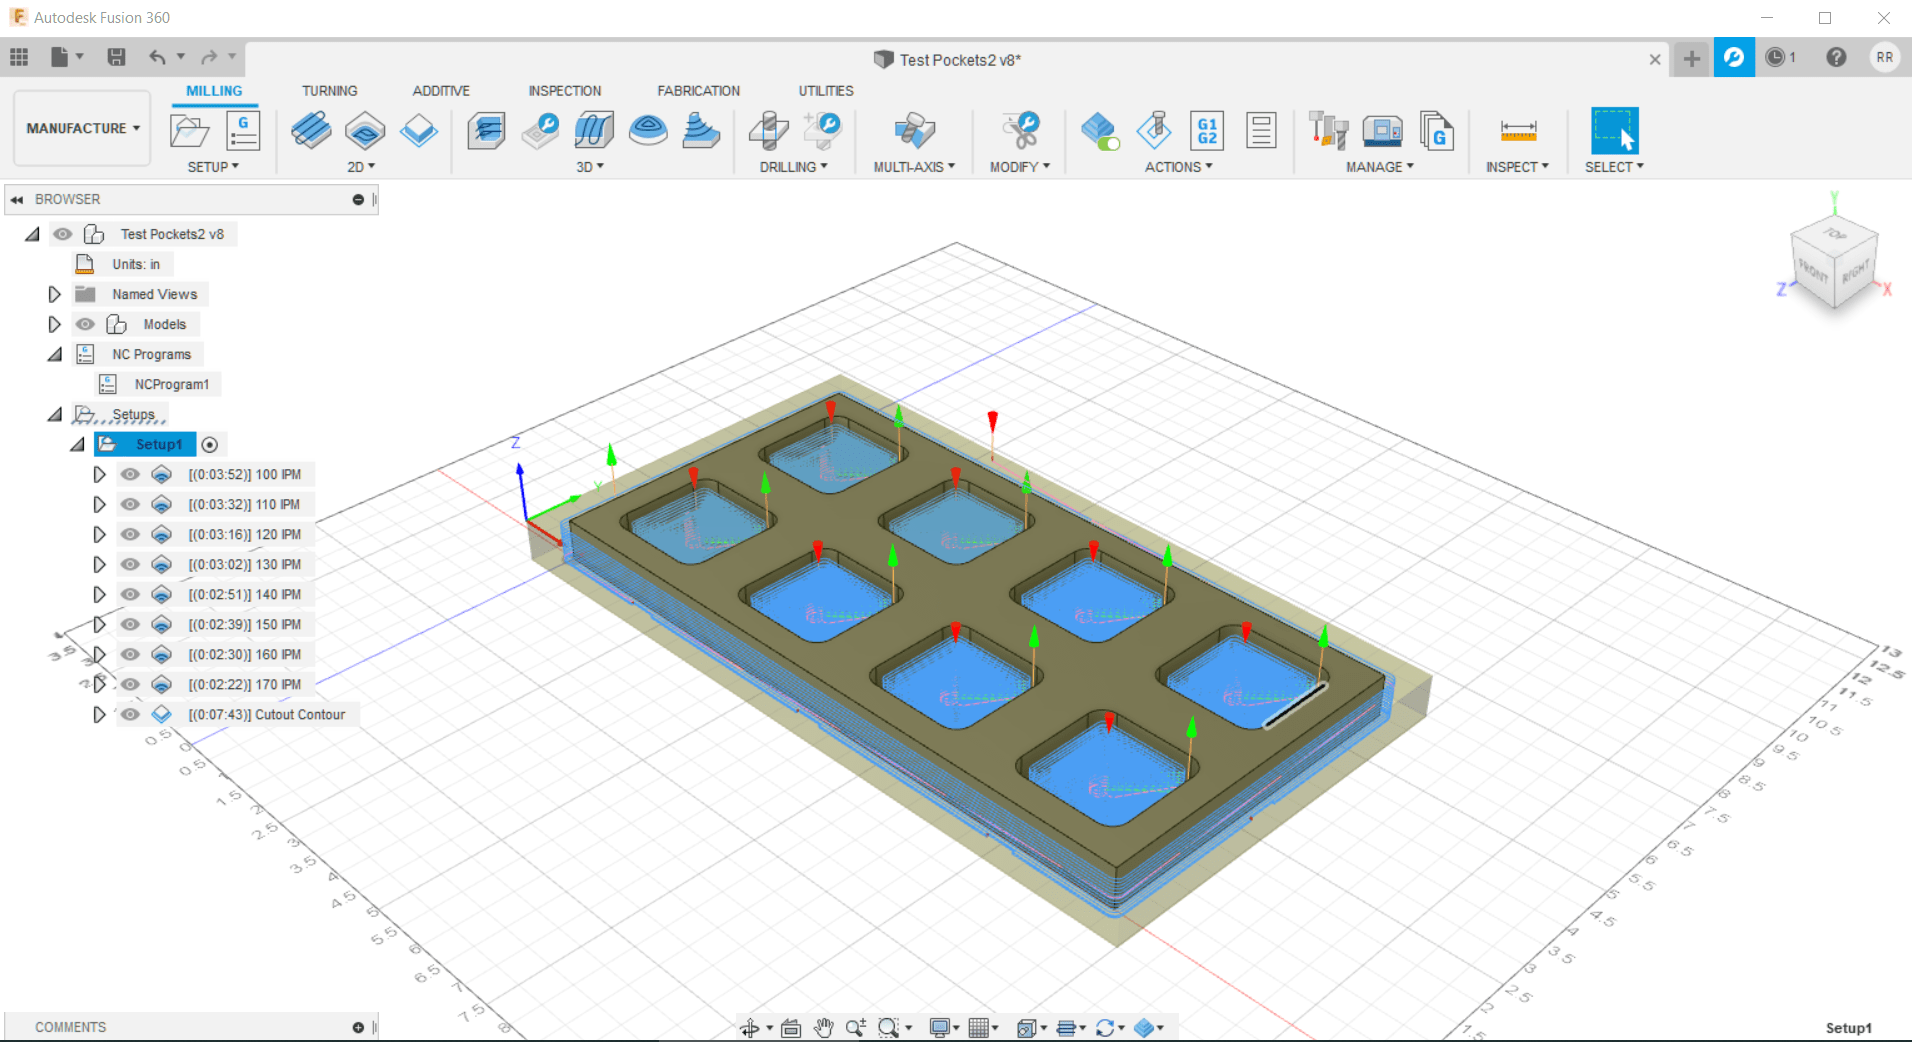
I’ve been trying to determine the best feed rate for cutting MDF on my Shapeoko CNC router with a 1/4-inch bit. The manufacturer’s recommendation is very conservative and slow, and I don’t trust the other recommendations I’ve found. So I decided to cut a large number of identical 2D pockets at different speeds to determine for myself what the best feed rate is for this kind of operation.
Once I determine that I’m going cut more pockets while adjusting some of the other parameters, like depth of cut, stepover, number of finishing passes, etc., to see firsthand the effect they have on cutting speed and quality. Eventually, I will do similar tests to determine the best feed rate and other parameters for cutting 2D contours in MDF with a 1/4-inch bit.
I’m using a Whiteside RU2100 flat up-cut end mill. It’s very similar to the #201 that comes with the Shapeoko but it has two flutes instead of three. I prefer bits with 2 flutes because they make it easier to achieve the “chip load” that I want. My Carbide 3D router dial was set to “3-1/2”, and I just found out that’s about 20,500 RPM, significantly faster than the 18,000 RPM I wanted to use.
I’m not ready to present my results yet, but I will tell you that last night I cut pockets using feed rates from 70 to 170 inches per minute and there wasn’t much difference in the quality of them. The most noticeable thing was that tear-out decreased as the feed rate increased.
Even though I might be able to pocket MDF at 170 IPM or faster, I will probably won’t go faster than 140-150 IPM because faster speeds put more stress on the machine and I don’t know how well a Shapeoko, with its v-wheels and belts, can handle that for long periods of time. Going faster also gives you less time to stop the machine if something goes wrong. By the way, a Shapeoko 3 can achieve a maximum feed rate of about 200 IPM.
Fusion 360 Design (CAD)
Designing this part in Fusion was pretty simple:
- Sketch a 2×2-inch square and give the corners .3-inch fillets
- Use the Rectangular Pattern function to duplicate it and create two rows of four.
- Center the pattern in a square so that the pockets are .5-inches from the edges.
- Extrude the pockets .25 inches and the rest .75 inches (to create pockets .5 inches deep)
Fusion 360 Manufacturing (CAM)
 I created a 2D Pocket operation for the first pocket, adjusted the parameters the way I wanted them, and then saved it as a template. I then used that template for the other pockets so that I just had to change the feed rate and some other speeds for each one.
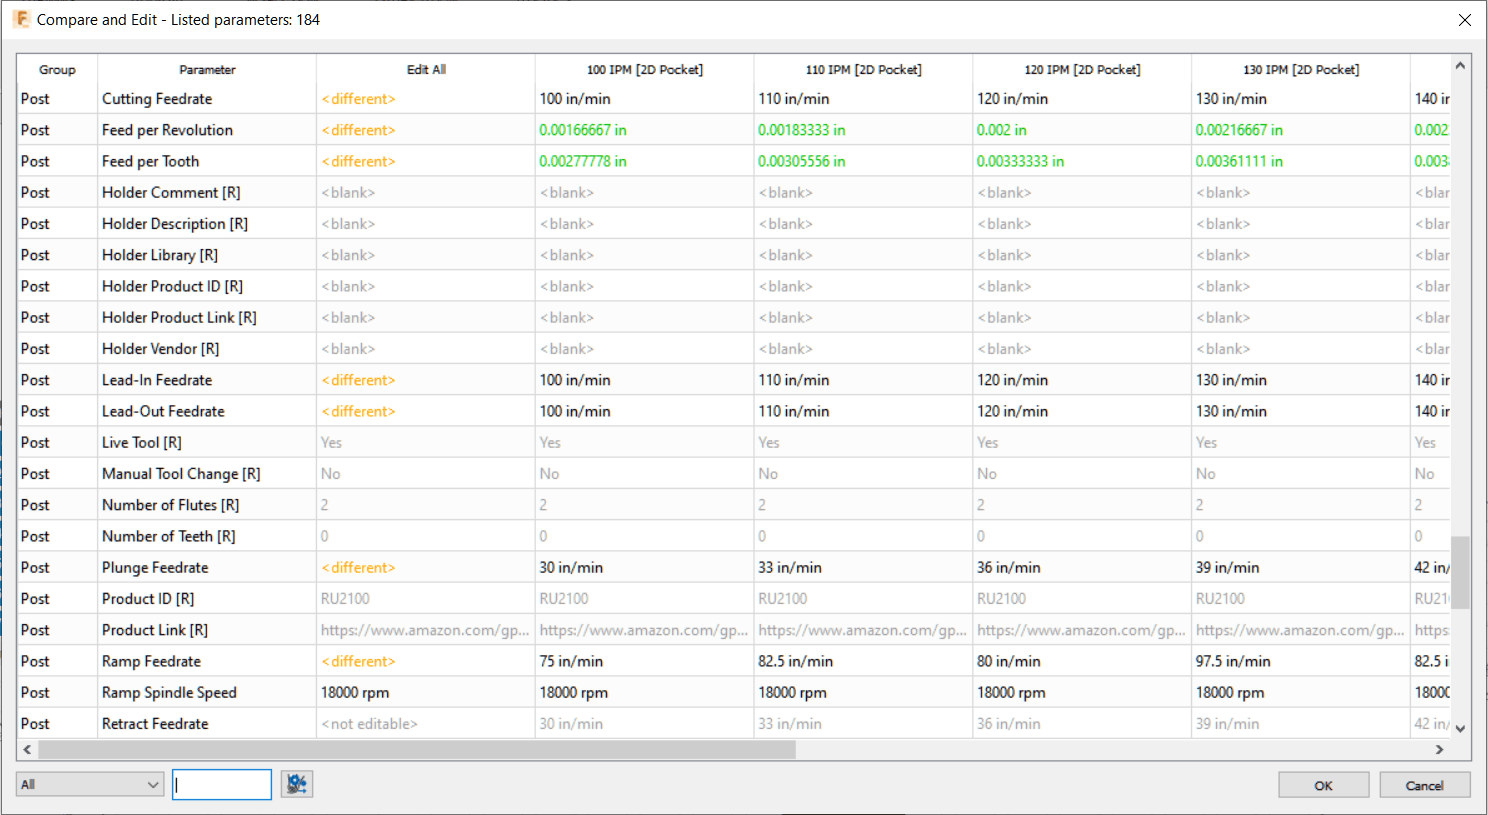
As a rule of thumb, I set the ramp speed to 75% of the feed rate, and the plunge rate to 30%. Lead ins and lead outs weren’t used but I made their speeds the same as the feed rate.
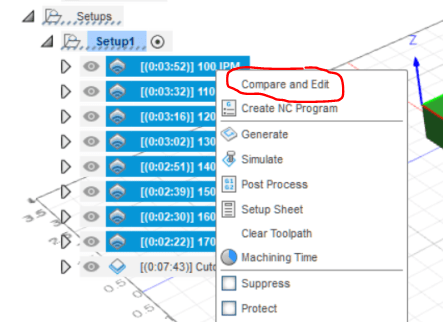
You can right click on each operation and select “edit” to change those speeds, but there is an easier way for something like this. Select all the pocketing operations, right click on them, and then select “Compare and Edit”.
This will display a nice resizable table (see below & click to enlarge) that will show you all the parameters. It will also clearly show you if any of the operations have settings that are different from the others, and it will let you make any changes that you want.
In this case I wanted all the settings to be the same except for certain speeds. Some of the parameters I’m using, like depth of cut, were pulled out of Carbide Create’s tool table, and others are the Fusion 360 defaults.
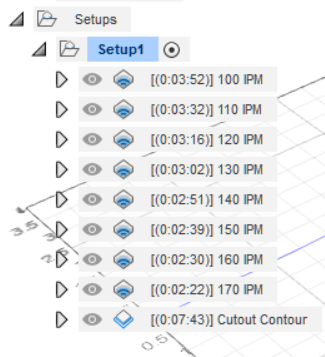
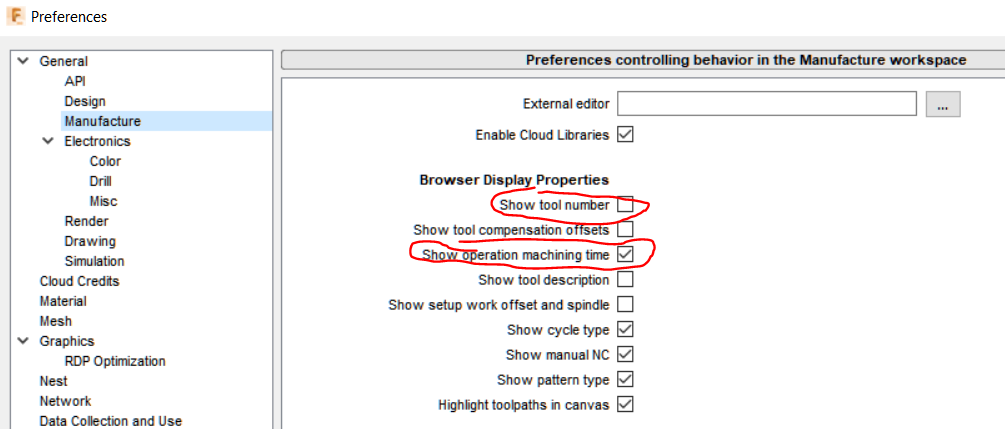
You might notice that each machining operation has its machining time displayed instead of the usual tool number. This is an option you can control in your preferences.
Please leave a comment below if you have questions or you can teach me something.