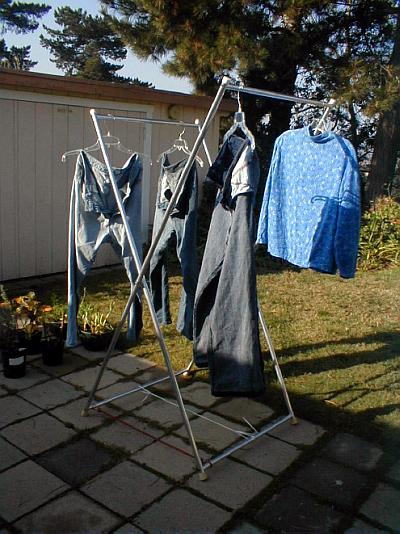
 I know, you would probably rather make something more interesting than a laundry rack. But have you ever considered that someone you know might want one? That it might be someone you should show some gratitude to for all the time they let you spend in your workshop and all the money they let you spend on tooling? Have you considered that Mother’s Day is coming soon and someone might like a drying rack with some nice new jewelry hanging from it? Did you know the free plans will show you a way to fasten together tubing that might be useful for other projects?
This drying rack folds flat for hanging on a wall and was designed by the talented Ralph Patterson. Here’s how it came to be and some construction notes:
“This project was inspired by a Honey-Do directive that came from a mail order catalog. They offered a rack 60 inches tall by 18 inches wide that had a painted finish. Naturally, we were too cheap to spend $25 plus postage for something that simple. So, a trip to the metal store yielded three 12-foot lengths of aluminum extruded tube, plus a foot of 3/4-inch round bar. At $15 each for the tubes, economy was no longer a factor. The purchased bits and pieces made the total for materials something over $60. I should have used EMT conduit, but no one seems to offer any pre-made tips or caps for that size.
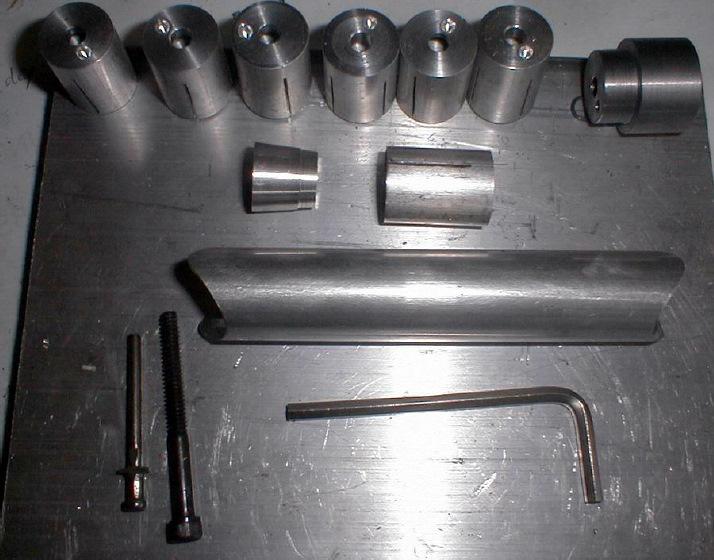
It would have been possible to turn some aluminum plugs to be a press fit into the tube-ends, to accept a bolt that would hold the corners of the rack parts together. But, being engineering-oriented, a two-part cup and wedge was designed instead. The wedge taper angle of 5 degrees would be self-locking and should hold tightly in the open end of a tube segment. So far, nothing has become loose in use.
After a few hours of effort, the tube insert parts were completed. Then an existing boring bar that holds a carbide insert was adapted to cut the radius needed in the cross-tube ends, so that the horizontal parts would fit snugly against the vertical parts. The boring bar was inserted in a collet in the mill spindle for cutting the scallops. The tubes, cut to length, were held in the milling vise horizontally and the cutter advanced from above. Several steps were needed to cut to full depth, since only a small part of the cutter extended past the side of the boring bar. Much care is needed to cut the opposite ends of the tube cutouts, since both ends must be kept exactly parallel.
The long tubes each needed 3 holes drilled along the length, and these must also be kept parallel. A length of steel angle was used to hold the tubing for mounting in the milling vise so that the holes could be place on the proper axis.
After the holes were complete, the assembly went together with no hitches, and is serving the wish very well.”
Click Here to Download Ralph’s Plans (PDF)
